Getting started
Connect your store to the app
Sign in, generate a temporary pairing code and connect with the camera or manual entry.
Reviewed
On this page
Pairing authorises one phone to access one store. You do it from both sides: generate a temporary code in the PrestaShop module, then scan it or enter it in the app. You do not need to create a PrestaShop webservice key.
Have the installed module open on your computer and the PrestaOne app open on your phone. The store must be reachable over public HTTPS.
1. Sign in to the app
Install PrestaOne from the App Store or Google Play using the links on Downloads. Sign in using an available Google or Apple option, or enter your email and choose Email me a code.
For email sign-in, use the latest code sent to that inbox. If it does not arrive, check the address and spam folder before requesting another. PrestaOne does not ask for your store's Back Office password.
Use the same PrestaOne account that owns or has been assigned the store connection. If you normally use Apple with a private relay address, signing in with a different email can open a different account. Check the signed-in email in Settings when expected connections are missing.
2. Generate the code in the module
- In PrestaShop, open Modules → Module Manager → PrestaOne Mobile Bridge → Configure.
- Select Connections & Access. If the module shows an initial connection prompt, choose Connect the mobile app.
- Generate a pairing code. The module displays a QR code and a six-character manual code for the same connection flow.
- Leave this page open while you connect the phone. The code is temporary and valid for 10 minutes. If it expires, choose Generate New Code and use the new value.
Keep pairing codes private. They authorise access to the store and should not be included in a support screenshot or sent to an unrelated person.
3. Connect from the phone
For a first connection, the app shows Connect your store. For an additional store, open Settings → Manage connections → Add store.
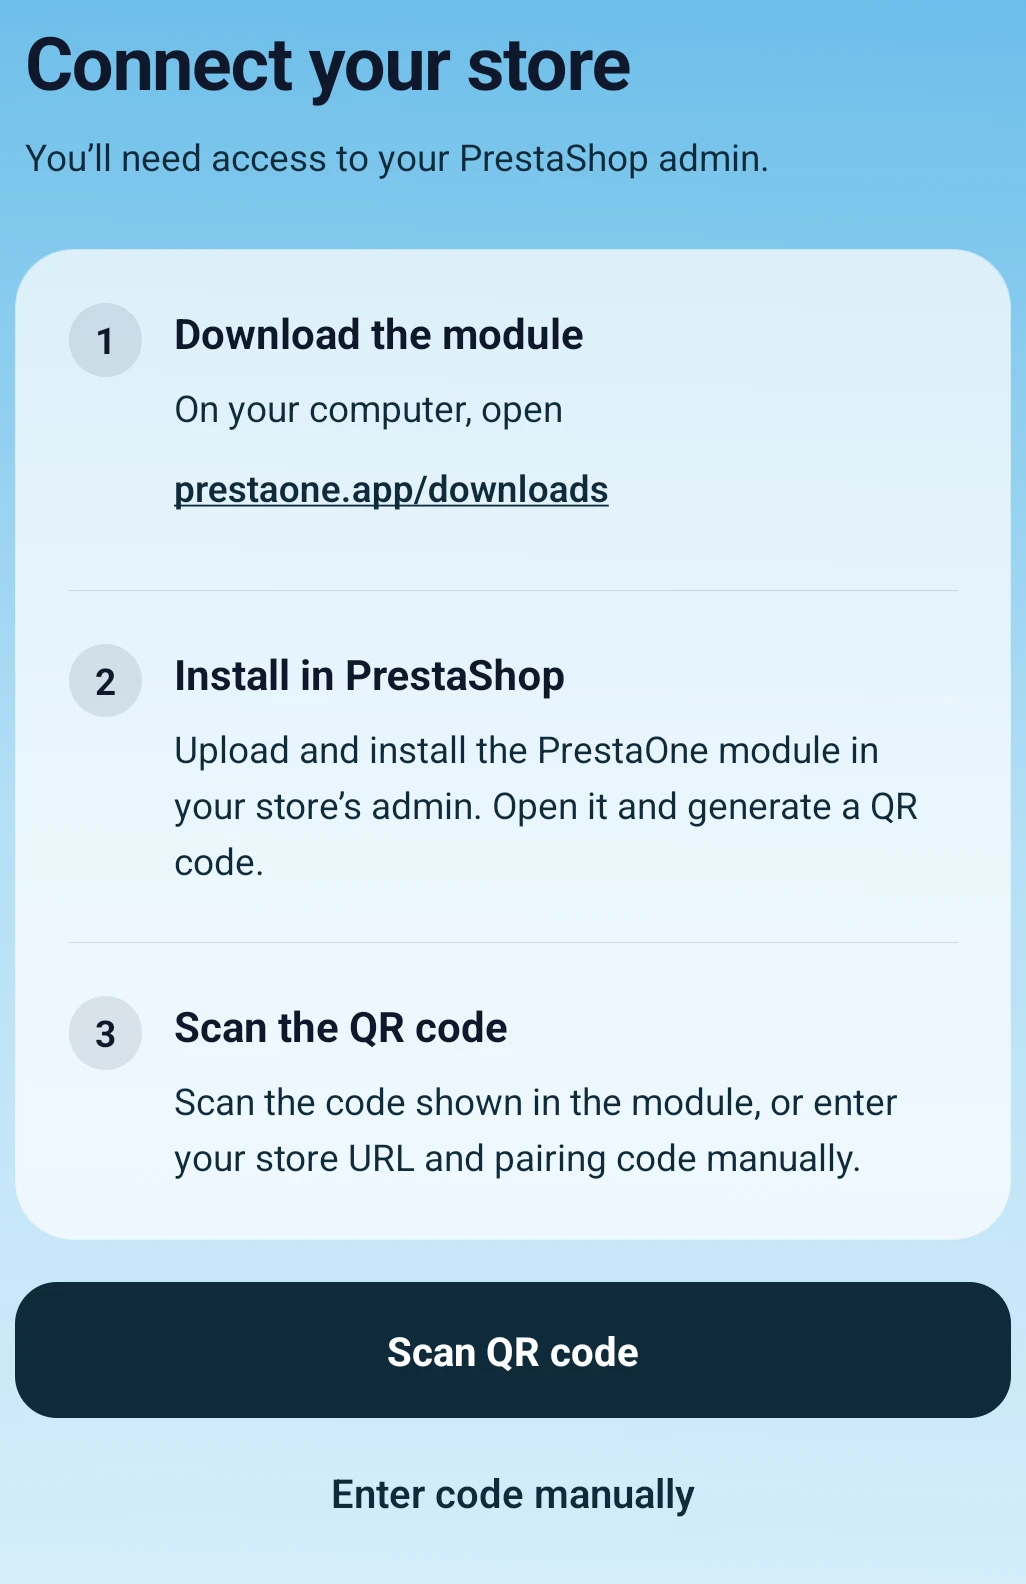 Choose the QR scanner when the code is visible on another screen; use manual entry when scanning is inconvenient. Enlarge ↗
Scan the QR code
Choose Scan QR code, allow camera access when the phone asks, and point the camera at the module's current QR code. Once it is recognised, the app leaves the camera and starts connecting.
If the camera cannot focus, increase the code's size on the computer screen and reduce glare. If camera permission was denied, enable it in the phone's app permissions or use manual entry.
Enter the code manually
Choose Enter code manually. Enter the public Store URL, including any subfolder needed to reach the store, and the current six-character Pairing code from the module. Then choose Connect.
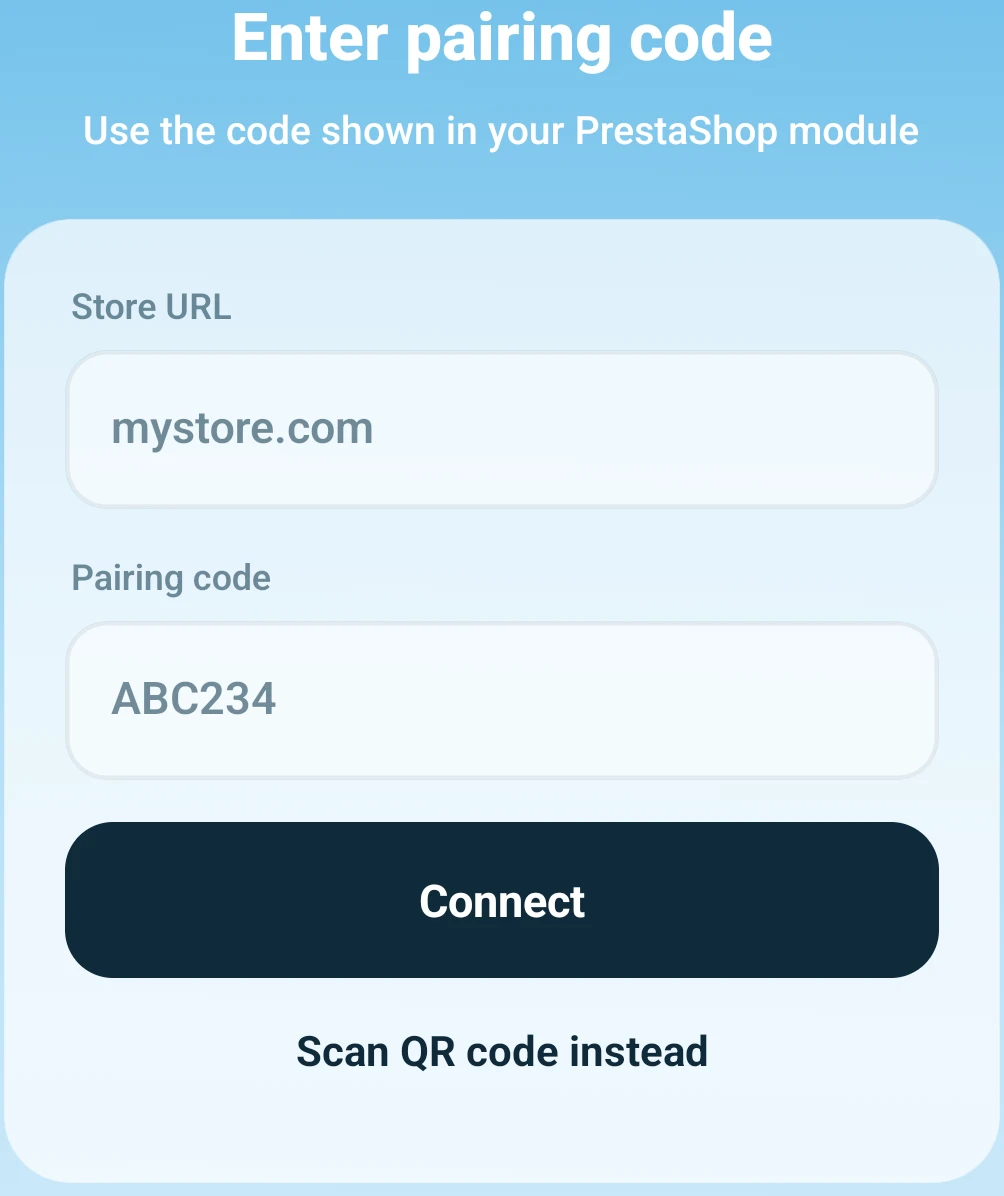 Use your public storefront address and the code from your own module. The values shown in the fields are placeholders. Enlarge ↗
Do not enter the Back Office URL, an account portal URL or an API endpoint copied from a diagnostic log. If the store's public address redirects between www and the bare domain, use the final address that opens the storefront.
4. Let the connection finish
An ordinary new connection completes automatically after the code is accepted. There is no extra review button to look for. Keep the app open while Connecting your store is shown.
If the app instead shows Replace device access, it is proposing to move an existing connection from another device. Read the named device and store before choosing Replace device. The old connection will lose access; this is not a harmless extra confirmation.
If you see No free seats, open Connections and review the connections on this phone. Disconnect an unneeded connection or ask the account owner to review available seats. Generating another code does not create more capacity. See Devices, seats and permissions.
5. Verify both sides
After completion, the app should open the store. Open an order or product and confirm that current data loads. In Settings → Manage connections, check that the connection is active rather than still connecting or needing attention.
Reload Connections & Access in the module and locate the connected device. Review its editing permissions and Live Chat access before handing the phone to a colleague. Successful pairing establishes access; it does not mean that every optional service has been configured.
If pairing stops partway through
| What you see | What to do |
|---|---|
| Invalid or expired code | Generate a fresh code in this store's module and replace the old value in the app. |
| A Store URL error | Open that address in a browser and check the final public HTTPS address. |
| Connecting or awaiting completion | Let the current operation finish. Use the retry or resume action shown by the app instead of starting several new pairings. |
| No free seats | Review the occupied connections and available capacity. A new QR code will not fix this. |
| A replacement prompt | Confirm only if the named old device should lose this connection. |
| Service unavailable or a server error | Use the exact message in Connection and service checks. |